


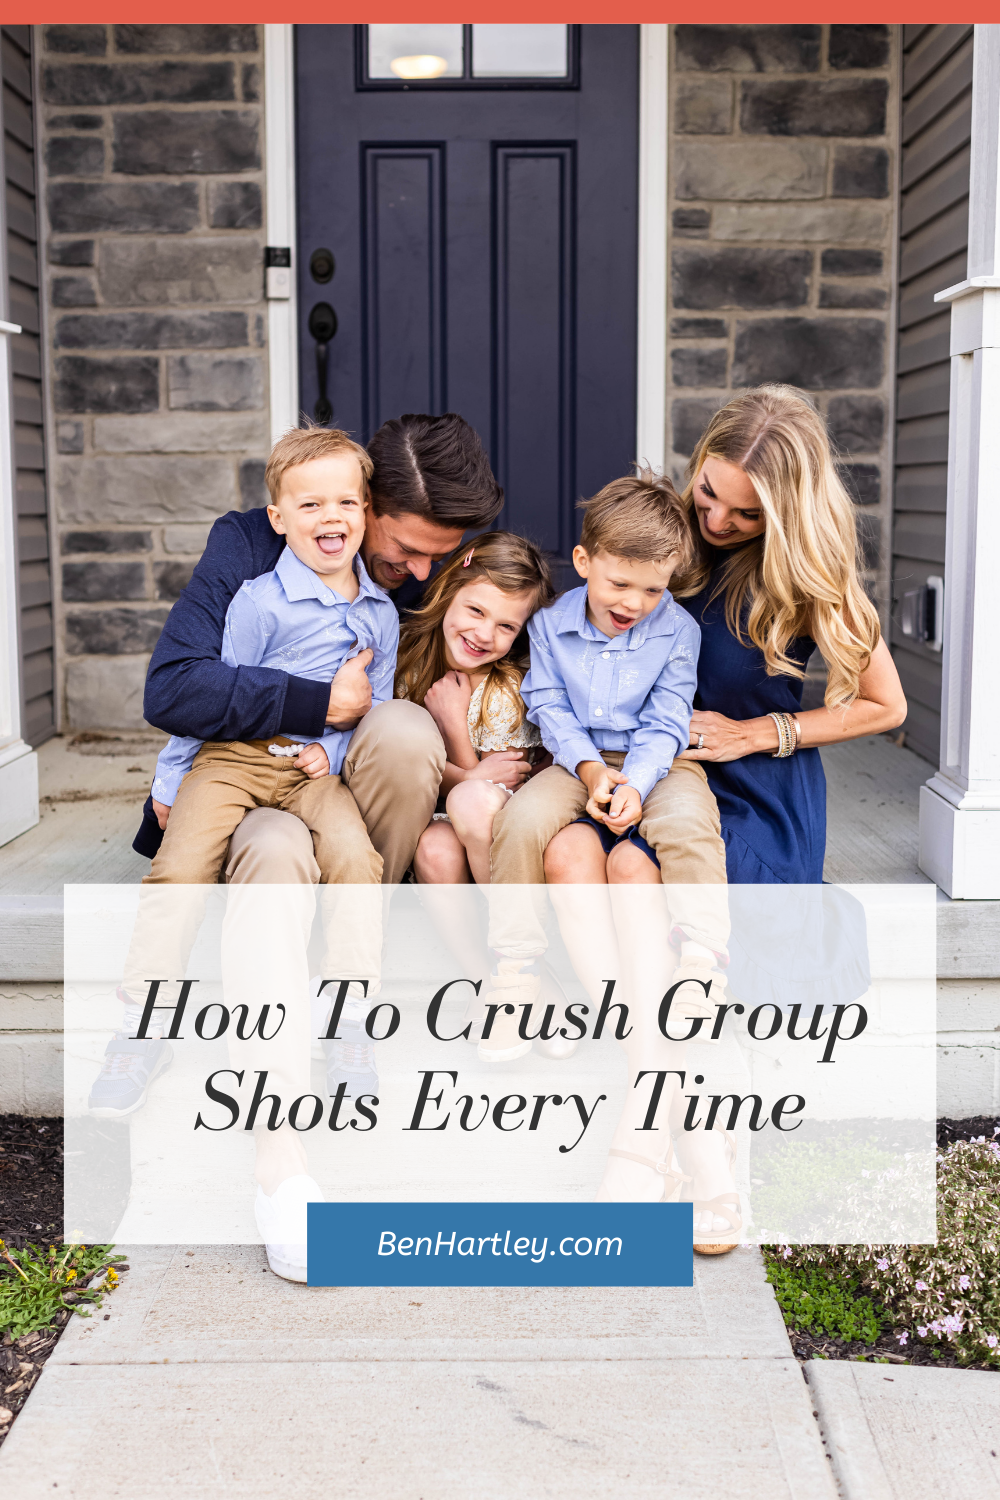
Three things in life are guaranteed. Death, taxes and wedding day group shots. Learn my step-by-step formula for crushing this wedding photography staple every time.
One set of photographs that take place at every single wedding is family formal shots.
Are these exciting shots? NO! Are the really important shots? YES!
Not only are they important, but if you are efficient with knocking these out, you will have more time for taking the engaging creative images with the bride and groom that you love to take!
Additionally, mom and dad will base a majority of their perception of you based off of how you handle these images and the end results.
I want to give you a formula for beautiful family formals photographs in nearly every option you would find yourself in.
In this post, you will learn
- Group positioning relative to light
- Lens choice
- Lighting choices
- Light modifiers
- Camera Settings
- Whether or not Off-Camera-Lighting is needed
Here are the 4 most common environments you will find yourself in.
- Outdoors on a Sunny Day
- Commonly Found: Outdoor Summer Wedding
- Outdoors on an Overcast Day
- Commonly Found: Outdoor Fall/Winter Wedding
- Indoors with No Windows
- Commonly Found: Inside church sanctuary
- Indoors with Window Light
- Commonly Found: Church Lobby or Country Club Wedding
Universal Truths
Lets start with Universals in all four situations. These settings and choices do not change from environment to environment.
Lens Choice
Because of the large size of some family groups, we often see photographers using the 24-70mm for group shots staying closer to the 24mm focal length. No good. The folks in the middle end up avoiding most of the distortion, but the outside relatives on the edges of the frame suffer.
Remember these family members are your future clients. Lets make them look as good as possible.
We shoot all of our family formals with our 70-200. If we are ever restricted on space, we will switch to our 50 prime, or worse case scenario our 35mm. The other HUGE benefit to using the 70-200 is how much it saves you on time when shooting tighter in variations.
We shoot every group as a full body horizontal, a ¾ horizontal, and if the group is small enough a full body vertical. With the 70-200 I can do all of that without moving my body. When shooting 30 different groups this can save a TON of time, and make you look more professional (avoiding running up and down the aisle like a maniac)
Aperture
We shoot all our group shots at f4.5 This aperture will help to keep everyone in your groups in focus. The shallower your DOF (lower f number) the narrower your plain of focus is. Since you will be layering people behind and in front of others. This is as low as we will go. Why not just shoot at f11 for them all, and guarantee everyone is in focus? We want to have nice separation from the background to make our group stand out and to cut down on distracting elements. This is the other benefit to using the 70-200. It helps to create nice separation from your background. We also avoid shooting at f11, because when shooting indoors, that high of aperture will make it difficult to balance the ambient light with your flash. More on that later.
Auto Focus Mode and Focus Point
One shot auto focus mode. Since we don’t have moving parts, we do not need to be using ai servo, or any other tracking AF. We place our focus point right on the groom at all times. Here is why. The bride and groom are most important. They stand next to each other. We want to focus on an area that will guarantee a locked focus. That would be a point of high contrast. Men often wear a black, gray, or navy coat against a lighter shirt, vest or tie. It is a perfect area to lock onto. Heads can be tricky because the focus can sometimes miss in between them and grab the background without you catching it.
Off Camera Lighting
In most situations a simple speedlight will do the trick. For groups, stick with a shoot-through umbrella as this will give you a large soft light that is very affordable.
Unique Characteristics to each Environment
Now that we have the universals in place, lets break down the four set-ups with each unique characteristics.
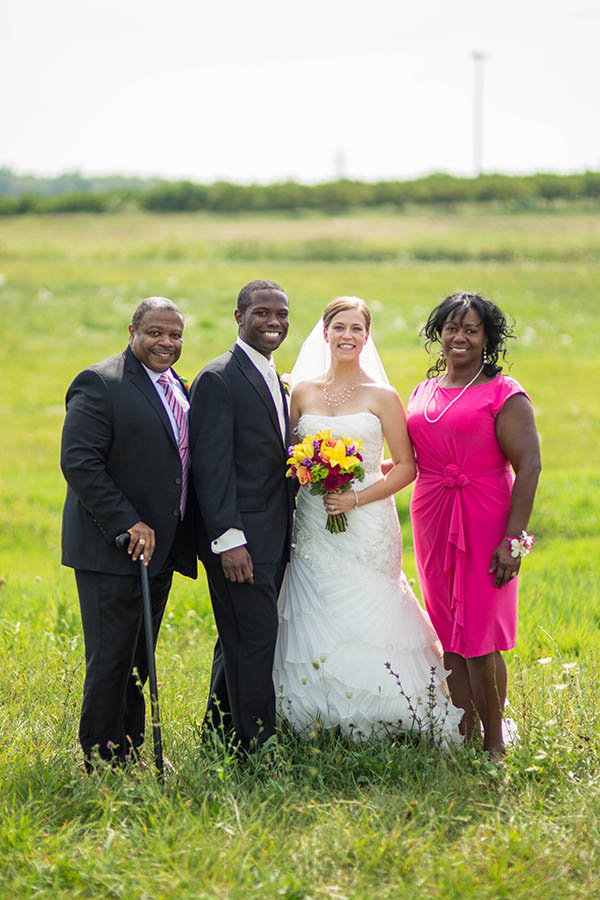
Outdoors On a Sunny Day (Easy with ok results)
(You have two options here. Easy with ok results and Less Easy with great results.)
Off Camera Lighting: NO
Group placement relative to light: Sun at backside
Aperture: 4.5
ISO: 100
Shutter Speed: Start at 200 and turn it up till your image looks bright and airy having exposed for the shadows.
Special Notes: Use a lens hood to help reduce lens flare when photographing into the sun. Make sure your exposure is for the shadows. AV will default to underexposing the scene because of the sun hitting the lens. Either use exposure compensation, spot metering, or just shoot on Manual for full control.
Outdoors On a Sunny Day (Less easy with great results)
Off camera Lighting: YES
Group placement relative to light: Sun at backside, Lighting 45 degrees to the side with modifier at chin height of tallest person.
Aperture: 4.5
ISO: 100
Shutter Speed: 200 (as fast as you can get it while maintaining sync speed of your flash)
Flash power: Manually start at 1/32 then turn it up or down according to if it need more or less light
Special Notes: You will more likely than not need to use an ND filter if you plan to shoot at 4.5. When using flash, always expose for your ambient light first before addressing your flash. Bring your ambient light up to ½ – 1 stop under exposed.
Outdoors on Overcast Day
Off camera Lighting: NO
Group placement relative to light: Sun hitting their faces at a 45 degree angle from either side (diffused through clouds, the even light is kind of everywhere, but still has direction to it.)
Aperture: 4.5
ISO: 100
Shutter Speed: Start at 200 and turn it up till your image looks bright and airy having exposed for the shadows.
Special Notes: Sometimes overcast days can leave deep shadows under eyes and no catch light. Feel free to drop a little fill light in off to the side to help this out.
Indoors with No Windows
Off camera Lighting: YES
Group placement relative to light: place flash Lighting 45 degrees to the side at chin height of tallest person.
Aperture: 4.5
ISO: 1600 and turn it up till your ambient light is one stop under exposed
Shutter Speed: 200
Special Notes: You will often find yourself in this situation in a church that has can lights overheading causing harsh shadows and deep warm colors. Ask the church to turn off the can lights, or bring your group forward enough where the lights hit behind the group. When using flash, always expose for your ambient light first before addressing your flash. Bring your ambient light up to ½ – 1 stop under exposed. In dark churches, this may push your iso to 3,200 plus. a 5dIII or d800 has no problem handling this.
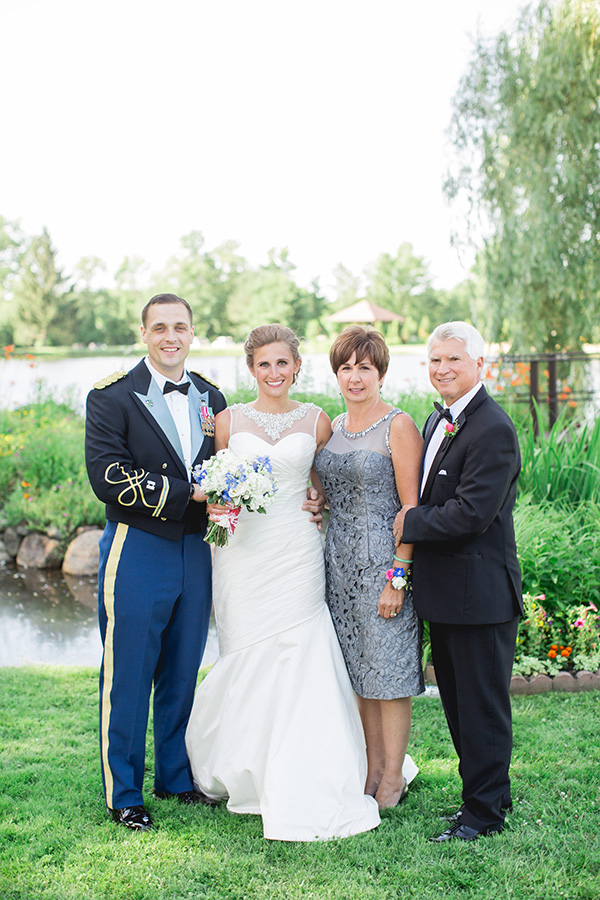
Indoors with Clean Window Light

Off camera Lighting: NO
Group placement relative to light: 45 degrees to Window
Aperture: 4.5
Shutter Speed: 200
ISO: 640 turn it up till your ambient light is one stop under exposed
Special Notes: Clean window light would be a large non tinted, or stained window. The window needs to be big enough to evenly light the whole group. My rule of thumb is the window should be at least as wide as the group you are photographing.


+ show Comments
- Hide Comments
add a comment